A couple small updates today
Added some bracing onto the engine cart. I would've added the "x" brace to the rear of the cart also but I ran out of 2x4's and didn't feel like running back to the store.
...and hauled up a huge oak stump from my grandpaps yard, which I'm going to fashion into a beating pad to shape sheet metal. Redneck engineering at its finest. The cart worked well but did not like being dragged through the grass. Though I did have enough room for my chainsaw, which is a big check under the victory column in my book.
Also built a cart to move it around on in the garage. The thing weighs every bit of 250 lbs.
I'll probably let it dry over winter and then carve the contours in the top once its stable. For the time being it will serve me well as a paperweight in severe wind storms, or as a workout implement.
"When we build, let us think that we build forever. Let it not be for present delight nor for present use alone. Let it be such work as our descendents will thank us for; and let us think, as we lay stone on stone, that a time is to come when those stones will be held sacred because our hands have touched them" - John Ruskin
Sunday, September 2, 2012
Saturday, September 1, 2012
I've been really busy since the last post with work and a bunch of other things, but mainly planning an engine swap :D. After a couple months of reading and weighing options, I ended up with a LS1/T56 dropout of a 2002 Camaro with 38k miles. BMW motors are beautiful for what they are, but if you want to make serious power it is simply not cost effective to build one up unless you do F/I, which I did not want to do. And they're still gutless below 3500 rpm. So I'll be dropping the V8 in instead. Well not really "dropping it in" - going to need custom motor mounts, trans mounts, headers, driveshaft, full exhaust, hydraulic and electrical integration, and much more. More to come on this as the swap progresses.
But the motor is supposed to be getting delivered on Tuesday, so I spent the day today cleaning up the garage and making a cart to move it around on once I receive it.
couple of 2x4s, plywood top with (4) 250lb capacity 4" casters from the high-performance section at Lowe's. I just screwed everything together so I could take it apart and reconfigure it as needed during the build process (transmission stand, etc). 2 swivel casters up front, 2 fixed casters in the rear. Bolted through the lumber.
Looking at this now I may decide to add diagonal bracing in the two boxed sections to further support the plywood, as its only 1/2" thick.
I added a rope onto the front of it as a means of pulling it around. A small piece of pipe is being used as a handle. Additional features will likely be added on top once I get the engine to prevent it from rolling off either side.
For shits and gigs - "GMW". Turned out a lot shittier compared to what I had in my mind haha, but my jimmies remain unrustled. I'm no graffiti artist.
Hopefully much more to come.
But the motor is supposed to be getting delivered on Tuesday, so I spent the day today cleaning up the garage and making a cart to move it around on once I receive it.
couple of 2x4s, plywood top with (4) 250lb capacity 4" casters from the high-performance section at Lowe's. I just screwed everything together so I could take it apart and reconfigure it as needed during the build process (transmission stand, etc). 2 swivel casters up front, 2 fixed casters in the rear. Bolted through the lumber.
Looking at this now I may decide to add diagonal bracing in the two boxed sections to further support the plywood, as its only 1/2" thick.
I added a rope onto the front of it as a means of pulling it around. A small piece of pipe is being used as a handle. Additional features will likely be added on top once I get the engine to prevent it from rolling off either side.
For shits and gigs - "GMW". Turned out a lot shittier compared to what I had in my mind haha, but my jimmies remain unrustled. I'm no graffiti artist.
Hopefully much more to come.
Tuesday, July 10, 2012
Couple small updates....
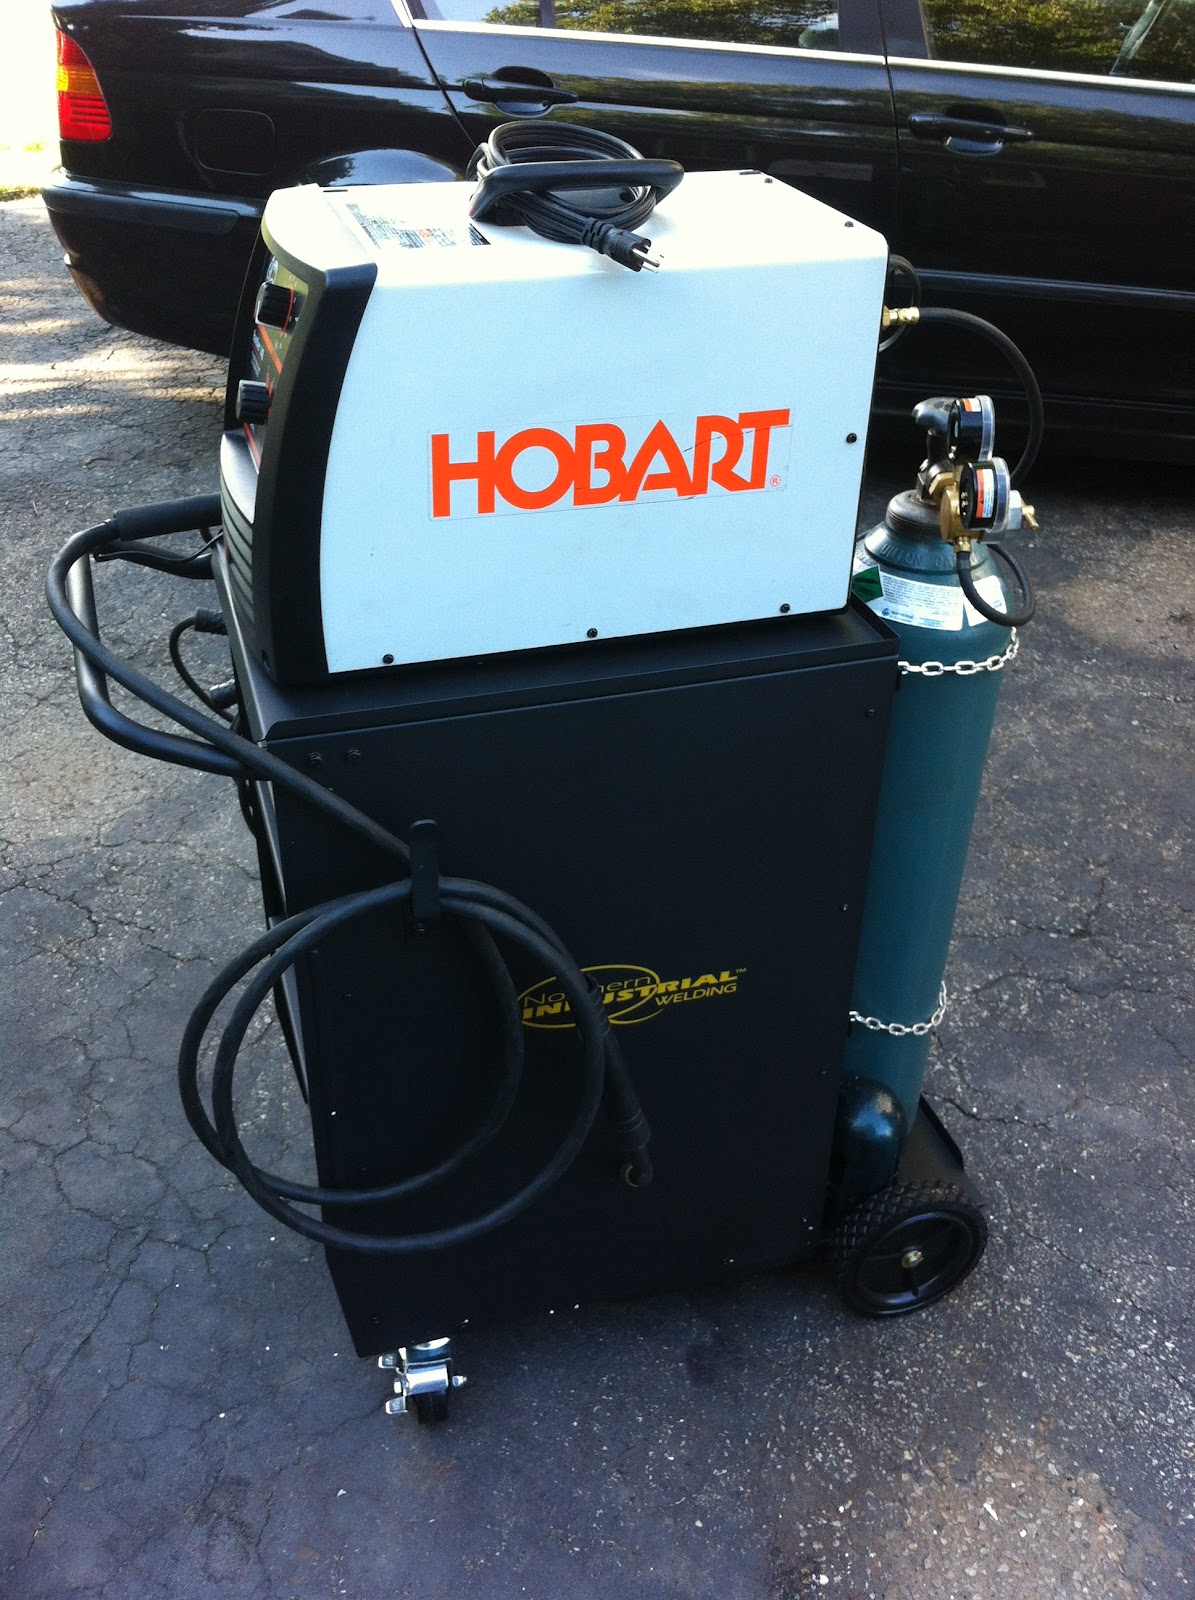
Finally got my welding rig organized a bit. I bought a cart from Northern Tool, has a couple drawers for storage of consumables and welding equipment. Seems to be well built and will make moving all my welding stuff around a lot easier.
I've also been working on a couple frames for my sister. I decided to try doing a laminate composed of oak and poplar, like this:
The first laminates I made didn't dry straight, and I had to cut off too much to get all of the pieces uniform. So I tried again, this time using a clamping jig to keep them true and minimize the amount of cleanup cutting I'd have to do afterwards.
The jig has a reference wall along the length and end of the lamination pieces, and also a piece clamped on top to keep them all roughly flush with each other. You can start with flat boards, but once you cut them into thinner pieces they have a tendency to bow a bit. I used a scrap piece of poplar as a spacer / pad for my clamps along the outer edge. Here I am gluing 3-24" laminate pieces at the same time, much more efficient than having to do them individually.
Cleaned up and mitered, this is what it looks like. I also cut a slot at the end of each miter on my table saw to allow for some corner reinforcement that will be glued in. You can kinda see those pieces at the fringe of the picture.
I also went to Ohiopyle this past weekend on a bike ride. I stopped down by the river, it was a beautiful day. Scenes like this make me wish I had a decent DSLR to try to do it justice...maybe soon.
Finally got my welding rig organized a bit. I bought a cart from Northern Tool, has a couple drawers for storage of consumables and welding equipment. Seems to be well built and will make moving all my welding stuff around a lot easier.
I've also been working on a couple frames for my sister. I decided to try doing a laminate composed of oak and poplar, like this:
The first laminates I made didn't dry straight, and I had to cut off too much to get all of the pieces uniform. So I tried again, this time using a clamping jig to keep them true and minimize the amount of cleanup cutting I'd have to do afterwards.
The jig has a reference wall along the length and end of the lamination pieces, and also a piece clamped on top to keep them all roughly flush with each other. You can start with flat boards, but once you cut them into thinner pieces they have a tendency to bow a bit. I used a scrap piece of poplar as a spacer / pad for my clamps along the outer edge. Here I am gluing 3-24" laminate pieces at the same time, much more efficient than having to do them individually.
Cleaned up and mitered, this is what it looks like. I also cut a slot at the end of each miter on my table saw to allow for some corner reinforcement that will be glued in. You can kinda see those pieces at the fringe of the picture.
I also went to Ohiopyle this past weekend on a bike ride. I stopped down by the river, it was a beautiful day. Scenes like this make me wish I had a decent DSLR to try to do it justice...maybe soon.
Subscribe to:
Posts (Atom)