But first, a few new arrivals. Layout fluid and a 150/320 grit aluminum carbide / silicon carbide stone for when I eventually get around to leveling all critical surfaces on the heads / block, and a TrickFlow spring compressor from Summit Racing for removing the valves from the heads.
Valve Spring Removal:
Really straight forward. Install compressor. Compress springs. Remove valve stem locks. Uncompress springs. Remove tool. Remove springs. Remove valves. Repeat. Estimated completion time for both heads: ~15 minutes. I really hated spending $70 for the tool to do this job, but I would have really hated trying to rig up another way to do it. Provided that some tools are north of $200 bucks, I feel like I (kind of) won.
To get the old bearings/trunion out, I simply set the rocker on a 22 mm socket and pounded out the trunion with a hammer and punch. Literally took maybe 10 seconds per rocker arm.
This is the carnage. As you can see, the needle rollers go everywhere if one of the end caps decide to come out. Catastrophe for your engine if it happens while it's running.
All out. Excuse the shitty picture.
Difference between the new and old trunion. The Comp Cams one is much beefier.
"Pressing" the new bearings in was a breeze. And by "pressing" I mean hammering. Because I don't have a press. But don't worry, I was gentle ;). Using a wooden block to pound the first one in flush, and then and a 15 mm socket for the second bearing worked flawlessly. The benefit is that the new bearings are captured needle-rollers, so I don't have to worry about the needles falling out. Also, the press fit seemed to be tighter, which also helps retain them. Snap rings on either side of the trunion add an additional layer of security.
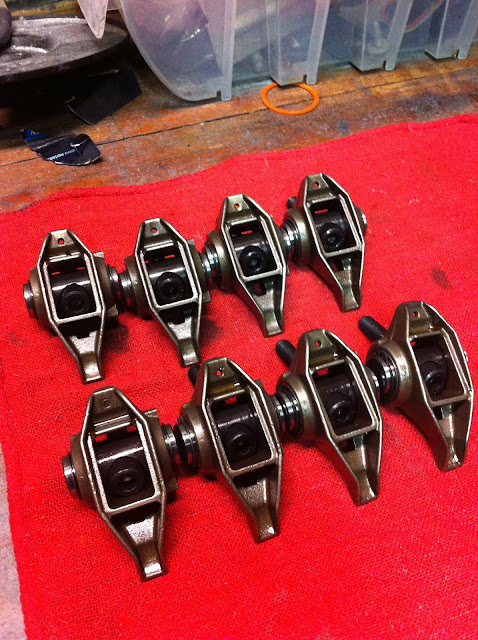
All done. Again, another really easy and straightforward job.
Next up will be some head porting. Still have to finish the second valve cover but engine work is so much more fun.
And oh yeah, and Happy Halloween


